Because of increasing concerns about cybersecurity and HIPAA, Penn State Health provides a Cerner tool that allows the organization to limit the visibility of external monitors/auditors coming to the site to review EMR data for participants enrolled in clinical trials.
In the Relationship Management Tool, study teams can create a patient list and assign that list to specific monitor(s); then, those monitors will only be able to see patients for that particular study and not have access to the entire EMR.
Directions for accessing and using the tool are included here.
Jump to topic
Search
Using the Relationship Management Tool
Research teams should follow these directions once the IT Account Request Form has been completed and an account has been created for the external reviewer.
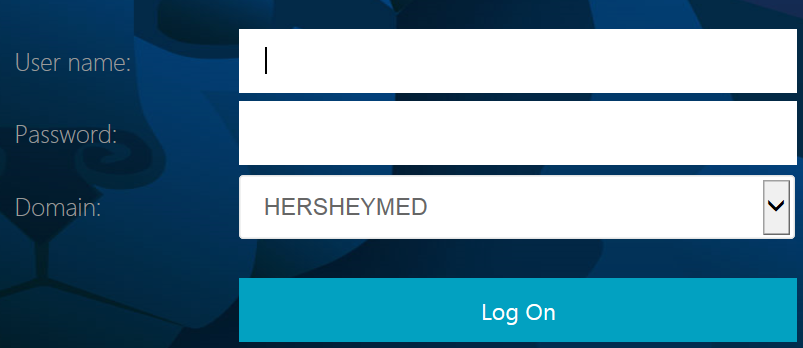
Under the Start button (Windows icon at the bottom left) on a Penn State Health-issued computer, type in Storefront in the search box and click on Storefront at the top of the text box.
In the popup box, sign in using Penn State Health ePass username and password.
A Cerner page with applications will appear. Click on the “APPS” icon at the top center.
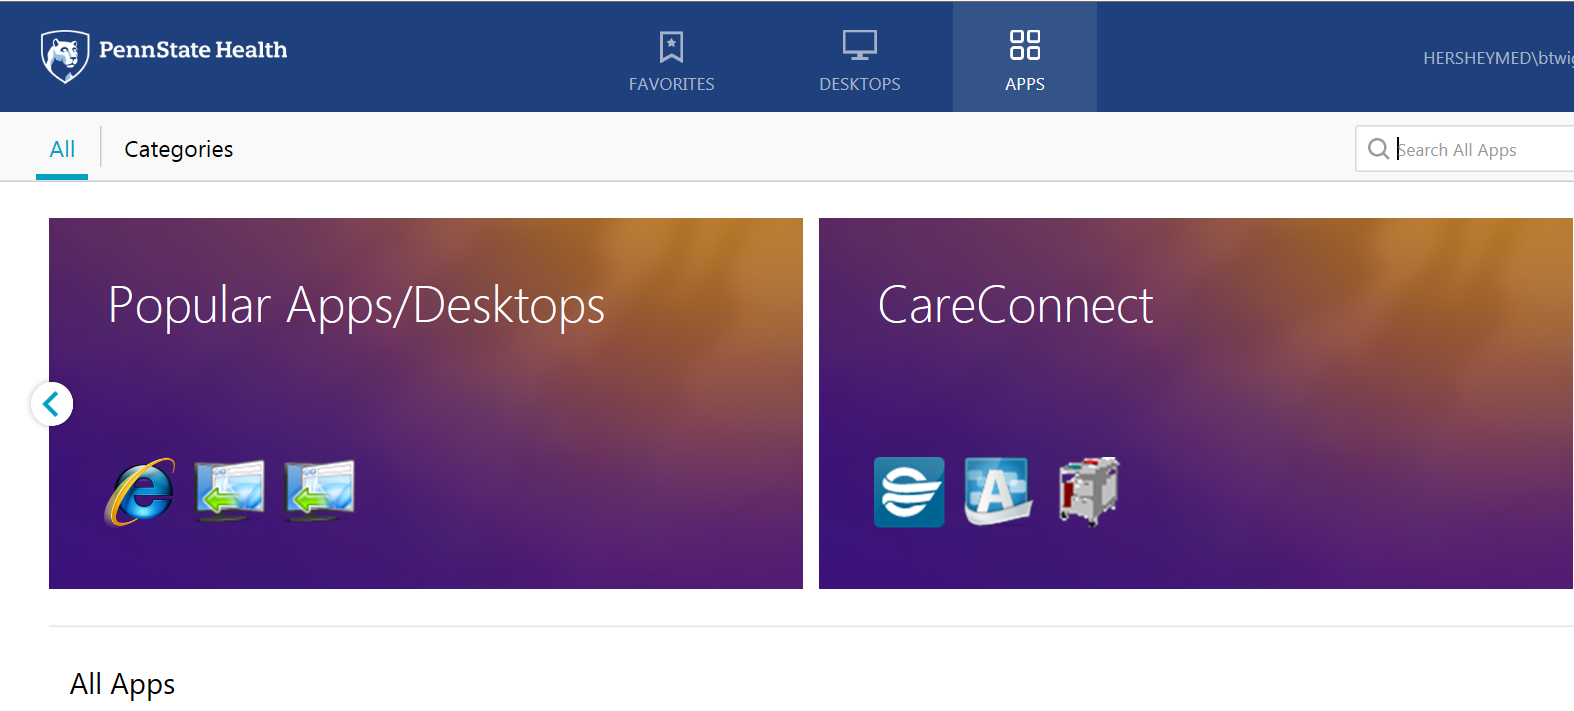
A page will appear with applications listed in alphabetical order.
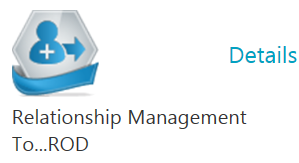
Before opening the application, it may help to click “Details” next to the Relationship Management Tool icon and save the application as a favorite for future ease of access.
To open, double-click on the Relationship Management Tool (RMT) application. The “Cerner Works Login” screen will appear.
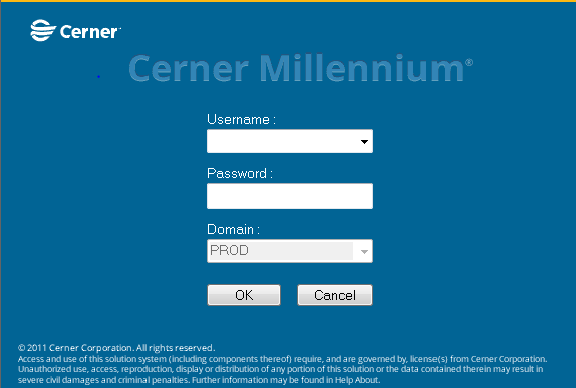
Log in to Cerner Millenium with ePass username and password.
Once the RMT application opens, in the box under “Provider,” enter the last name of the external reviewer, a comma and the first name, then select the magnifying glass icon.
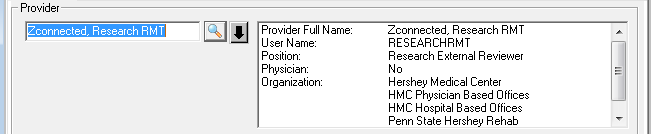
The reviewer’s information should populate on the right side of the box.
At this stage, relationshps between the external viewer and the patient(s) they would like to review can be created.
To set up relationships for this reviewer, select “Add” at the bottom of the screen.
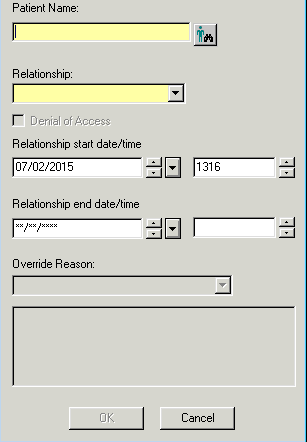
A text box will appear; select the person and binoculars icon beside the “Patient Name” box.
In the “Patient Search” box that appears, in the text box under “Name,” type the patient’s name (last, first) and click “Search.”
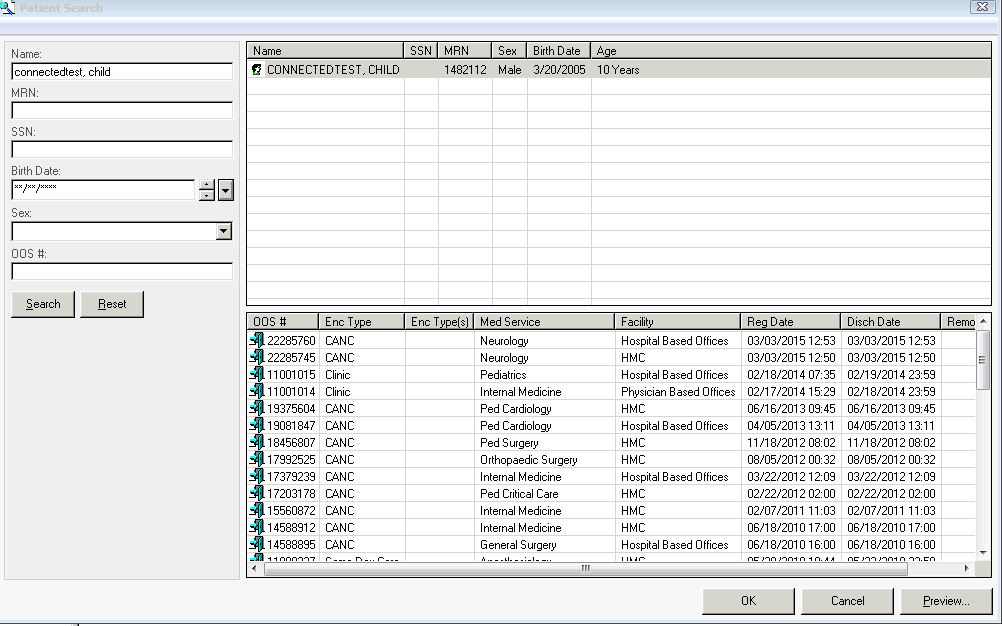
The patient’s visit information will appear in the box to the right of the search fields. Select the visit dates the reviewer is requesting by holding down the Ctrl key on the keyboard and clicking the individual visit dates. Once all are selected, click “OK.”
The earlier text box will appear, but with the patient’s name included in the box. Under relationship, click the arrow and select “Auditor Research.”
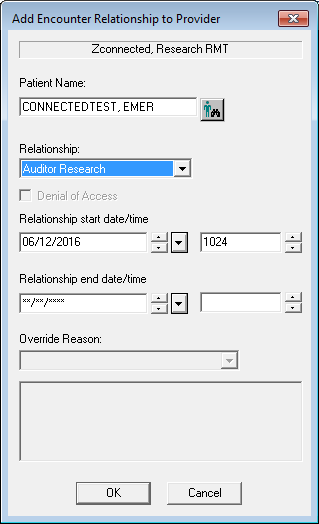
The relationship start date and time should also be populated. If no end date is entered, the relationship will automatically expire in 365 days. Once this is completed, the “OK” button should be highlighted and can be clicked.
If it is still grayed out, enter “N” under start time (for “Now”), then click “OK.”
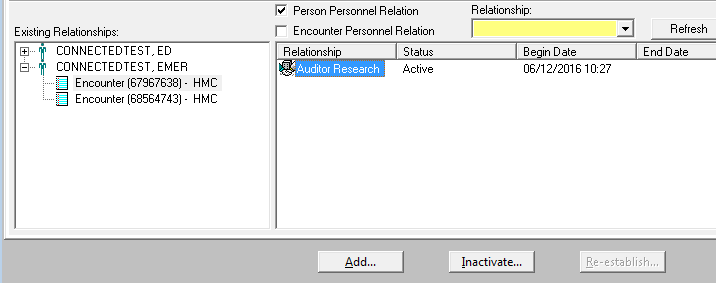
Once the box closes, the original screen will be visible with the patient that was just completed listed under “Existing Relationships.”

Note that patients in the “Existing Relationships” are only those with active relationships to this reviewer. To see both active and inactive relationships, uncheck the box next to “Patients with Active Relationships Only” at right, midscreen. This will now display both types of relationships.

To re-establish or inactivate patients:
Under “Existing Relationships,” locate the patient to be re-established or inactivated.
Click the + in front of the patient’s name in order to view the encounter(s) listed under their name.
Click on the encounter and the information will populate in the box to the right.
Highlight the type of reviewer under “Relationship;” this will highlight either the Add or Inactivate buttons at the bottom of the page, depending on the current status.
Note that only one encounter can be re-established or inactivated at a time.
Troubleshooting
If an error message appears stating that this patient already had a relationship established, the text box will not close. The application must be closed and restarted in order to continue.
For help with other issues with the Relationship Management Tool, call Barb Twigger, HIM manager, at 717-531-0003, ext. 287486, or Alicia Kain, HIM supervisor, at 717-531-5058.